Pages

Saturday, January 21, 2012

Hair flowers


My daughters love hair things, but we tend to go through a lot of them with three girls wearing them everyday. But hair things cost so much. Luckily we found a cheap very cute way to make some of our own!


First you need to find some fake flowers, you want to make sure they are bloomed flowers not buds.


Then I take these clips, they can be found at hair supply stores and places like that. The box I got come with 100.......so I think we are good for awhile! lol 


Next you want to take the flower off the stem


Then you want to clip the stem down so its flat, but make sure you hang onto the flowers so that the stem still  peaks out slightly so that the flower stays together. Then add a big glob of glue in the middle and add the clip.


Gotta love it, so simple, yet so cute! Of course there are a million ways to jazz these up......more to come :)

Thursday, January 19, 2012

Homemade French bread


I don't lately I have been wanting french bread, of course I could just go to the store and buy one for a few dollars but what fun would that be. I have been on a major baking kick. So while searching for recipes I found this tutorial on YouTube that is completely awesome!
He gives you step by step to this very simple technique. Love it!

Here is the recipe:
  • 1 tablespoon of yeast
  • warm water
  • 4 cups of flour
  • 1 tablespoon of salt
Yep that's it. The trick to getting a great bread is all in the technique.
First you need to proof your yeast in some warm water, meanwhile combine your flour and salt.

Then mix your yeast and flour mixture, water amount varies, you just add enough until the dough starts to pull away from the sides of the ball. I used too much water so I all I had to do is add more flour.

Then you knead the dough into a ball for a few minutes ( the video is a must to watch)

then let your dough rest while you wash out your bowl

Continue to knead into a ball. Place your dough in the bowl and cover with a plastic bag. Very cool tip I must say!


After about two hours you pull your dough out and knead some more, forming them into loaves (again watch video) He has a great technique for forming them into loaves


Place on sprayed pan and let rise for another hour and half or there abouts.


And this is the coolest part......set oven to 400 and place bread in oven, and then throw in a about a 1/2 cup of water on the bottom of your oven to steam the bread. Make sure you turn down your oven to 350 and let bake for about 35 min. 

Ta Da! Home made awesome tasting french bread!

Mine didn't brown hardly and didn't rise quit right, but I think its because I added too much flour, but let me tell you looks are deceiving because it tasted so good! I am going to have to try this again for sure!

Wednesday, January 18, 2012

Word Blocks


I love anything that has words on it, especially the distressed boards. But years ago I fell in love with these letter blocks that my good friend Hathir, she now does amazing bows and you have to check out her work....so cute!!https://www.facebook.com/daissjrs . Anyhow she had these blocks in her living room that were huge and you could arrange them to say different things. At the time they said merry Christmas. They were so cute and I finally decided to make myself some. I had planned on making these last month but I was so slack. So yes a month after Christmas they are done. What can I say, I am early for the next Christmas! Though having a bit of blocks left, I ended up doing more! Love it!


So I have an awesome neighbor and best friends. And they so kindly made me these blocks. First her husband took 2 2x4 boards and cut them to  3 and something (2x4 aren't truly 4 inches) then he took two pieces and glued and nailed them together. Yea I have awesome friends! So these are the blocks I ended up with. Buying square blocks were way to expensive, especially if you want to go larger than a 2x2.


Next I took wood filler and filled in the cracks and holes. I wasn't too worried about filling everything since I will be distressing them later on. 


Next I painted them my base color. This is the color you are going to want your letters to be.


Sorry my pictures are lame, my phone wasn't working with me and it was night time.......bad combo
These are for the Christmas blocks


Also you only need to paint your base color/ the color you want your wording where your letter is going.

These are acutally painted an off white for the other blocks


Next you need to put your letters on. I used a circuit machine and cut out my letters. Since my blocks were almost 4 square I cut my letters out to be 3 1/2 inches tall. After placing your letters make sure you rub them on really well. Then paint. I chose a red because of Christmas


After they dry you can peel off the letters and distress. I took sand paper and sanded the edges. I really love the warn look that it gives them. Here is a picture of them before and after distressing.


Here is the distressing in the black


Then you have your finished project!


pictures don't do it justice at all!


and one for my mom :)

Monday, January 16, 2012

Bridal Shower

Recently my Beautiful Sister-in-law got married. So of course we had to throw her a bridal shower. 
Here are just a few things I did :)
Her theme: Princess
Colors: Hot pink, Silver, and Black
Idea: a small get together, with food, games, and presents 
My sister-in-law Danielle is not big on cake so instead of cake we did brownies and made her a towel cake.
There are a lot of great ideas for these cakes all over the Internet. They are super easy to make and can be so cute. Here is what I did.
It is super easy and this is what you do:
First you will need a few towels and a few hand towels.
I checked out a few tutorials I found online. This is a pretty good one:
http://www.youtube.com/watch?v=r51gKlARQbI

For the finishing touches I wrapped it in ribbon and used pearl head pins around the ribbon to hold it in place and add decorative accents.

For favors we decided to give away rings in a box. I don't have a picture of the finished product with the tag, but it said:
Will you marry me?
Bride and grooms name and date

 I found these boxes at Micheals crafts

Then I took ring pops and shrink wrapped them, then added a little shredded paper. I loved the idea!
With lots of finger food, hot pink plates and matching decorations. Then games such as toilet paper bride. I think she had a great time <3


Saturday, January 14, 2012

Adventures of a two year old

My son Adam is so full of energy like any other two year old. 
But I do have to say out of all five children he still amazes how he manages to get into sooo many things. 
But instead of getting angry, I grab my camera first, take a deep breath and take a picture!
Like any other mom I get frustrate with all the things he gets into, but what I have learned over the years
is how fast time flys and looking back on all his adventures I get a big chuckle and realize how funny they really are. 
So here are just a few of my favorite mess pictures 
This picture is just after I had made cookies and he decided to help himself. He can get on anything, I mean anything. I am constantly catching him getting into my upper cabinets. Also another favorite of Adam is to turn my faucet completely around to the other side and turn on the water! Completely soaking the floor on the other side. 


First Adam unrolled the toilet paper and threw it away ( see the trashcan) and then he took the lotion bottle and dumped the whole thing out.........at least now my floors will have no softness issues lol
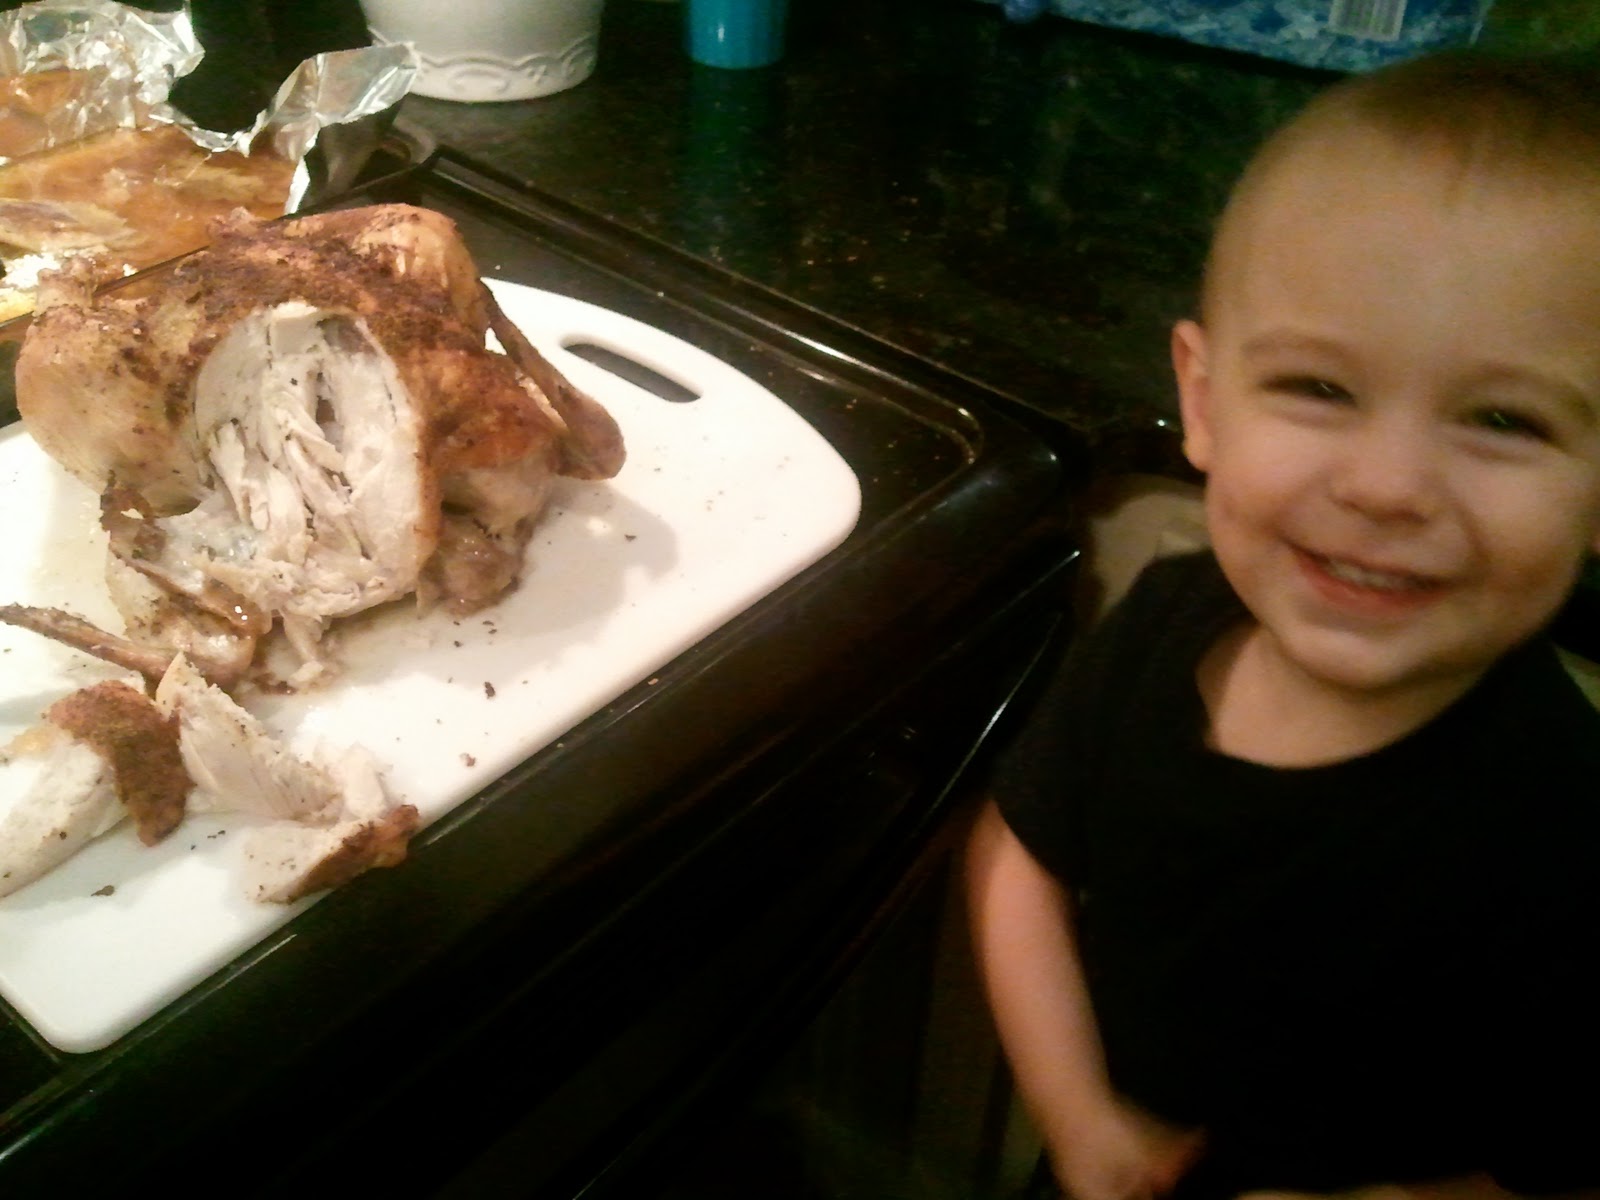
Adam loves food and this day he couldn't wait for me, he decided to help himself to chicken even before I could dish it out. Thank you hunny mommy has it from here.

This is when Adam opened the fridge and helped himself to some kool-aid. Unfortunately the he used the floor instead of a cup to pour the kool-aid into.
Doesn't everyone pour them self a whole box of cheerios?? So funny, he loves to try and be just like his brother and sisters. Funny thing is he managed to get the bowl out himself. I know it seems like I don't watch him at all but trust me this happens in few minutes it takes me to run to the restroom ( that is his favorite time to get something) or turn my head. He is super fast! No joke, super fast!
This is too funny, the girls helped him on this one............dress up! lol
And of course he does learn from the best..........his older sisters. Emily wanted to try and draw herself a tattoo. Lol lets just say we have to hide the pens in our house!

Through showing you these few moments of my energetic two year old, I hope that you take the time to cherish your children and all the moments you have with them. Even when they are getting into everything. Time goes by way to fast :)

Exciting News!

Were building a house! 
We are so excited! Today we signed the papers to build a home.

I will keep trying to post as often as I can until it gets closer to the big move, and also keep you posted as they build the house. 
But I just wanted to take a moment to express how thankful I am for such a wonderful blessing in our lives.

Wednesday, January 11, 2012

Ever changing art

My children love to hang up there art work, and of course I love displaying all the neat things they create. But our fridge was getting a little full and since they are always drawing new things I came up with a board that can display there art and also can be easily changed. 
This is what I came up with

Art display board

Here is what I did:

First I took an old board that I had laying around and painted it black. And of course I had to distress it. So I sanded down the sides and scuffed it up a bit.
Second I found these neat clips at Walmart. They have holes in the top that are just perfect for a screw. So I screwed them into the board. 


Last, I put picture hangers on the back, I placed two so it was more stable and didn't swing when we replaced the art work.
That simple. Now My kids can hang there are and have it nicely displayed in the hallway.
Love it!

Wall of fun!

OK so I wanted a different kind of wall art. I love to put up family pictures, but I wanted something to show our personality and really display our fun side. So I came up with our 'Wall of fun'
Here is what I did. 

First:
I had each of us take funny, unique pictures

This is Elisabeth, she is hanging up side down at the playground
This is Emily rocking her mustache that we made out of sticky felt

I even got a funny one of my husband. His mom actually took this photo when we were at Chuck E Cheese with the kids......he was inside a tube, and he smooched his face on the window to be funny. I love it! haa haa

After printing them out, I found these awesome frames for only 3.00 at Walmart of course. Not bad considering they came with a matt. I really liked the idea of having them symmetrical. But due to the fact that there is only 7 of us I needed something to make it an even 8. 
So this is what I came up with:
Our last name drawn and then in black going through it, it says "families are forever" Since we didn't have any ink at the time for our printer and I was too impatient to wait. So I drew it out by hand. Not to bad I must say :)


Then it was time for hanging.......and a million holes later ( yes I even drew lines and measured, it just wasn't my day to hang pictures I guess) This is what I ended up with.....


Ta Da! I love it and get a smile every time I pass by. Now the only problem is when we move in a few months, I will have to rehang them! ahh!